September 14, 2026
A first canning session rarely fails at the dramatic moment. It fails at the small ones. You get talking while the water comes up, you forget whether the timer started at the boil or when the jars went in, and a month later two lids have popped. None of that ruins anything permanently. It just costs you a batch and an afternoon. Here is the checklist worth taping inside a cupboard door before your first jars hit the water.
Decide Water Bath or Pressure Canner First
One question settles it: is the food acidic? Jams, jellies, most fruits, pickles, chutneys, and tomatoes with added lemon juice or citric acid go in a boiling water bath. Vegetables, meats, fish, soups, stews, and anything that mixes low-acid ingredients need a pressure canner.
That isn't fussiness. Boiling water tops out at 212°F, which won't destroy the spores that cause botulism in low-acid food. A pressure canner reaches 240°F and does. Skip the shortcuts you may have heard about, too — oven canning, dishwasher canning, wax seals, microwaved jars. Their failure mode is not a soggy pickle.
If you are ever unsure whether a jar is safe, throw it out without tasting it.
For anything involving food safety, follow published guidance from a cooperative extension service or a tested canning guide rather than a forum thread.
Gather the Gear Before You Boil Anything
Set everything on the counter first, so you aren't hunting for a lid wand with scalding jars in front of you.
- A canner with its rack. A water bath pot needs room for one to two inches of water above the tallest jars, plus boiling space. A pressure canner needs a dial or weighted gauge in working order.
- Jars free of chips, cracks, and nicked rims — in whatever size your recipe specifies.
- New flat lids for every jar, plus clean bands you can reuse if they aren't rusty or bent.
- Jar lifter, wide-mouth funnel, plastic bubble remover or spatula, headspace ruler, magnetic lid wand.
- Clean towels, a timer loud enough to hear over a rolling boil, and a notebook.
Check that the pot fits your stove and that your jars fit on the rack inside it before the day you plan to can.
Read the Recipe Twice, Then Follow It Exactly
Canning is one of the few kitchen projects where improvising gets people into trouble. Acid, sugar, salt, and processing time are the parts that keep food safe, so treat them as fixed.
- Don't double a batch. Make two batches at the same times instead.
- Don't swap jar sizes. A pint-and-a-half jar can't just pinch-hit for a pint.
- Don't reduce the acid in a tomato or pickle recipe, or the sugar in a jam, to taste.
- Note your elevation. Processing times change above 1,000 feet, and tested recipes print a chart for it.
Read the method once, then again with a pencil, and mark the exact moment the timer starts.
Clean Jars, Hot Jars, Checked Rims
Wash jars in hot soapy water, rinse, and keep them hot until filling — on a rack in the canner, or in a low oven. Jars processed ten minutes or longer don't need separate sterilizing; the processing does that. What they do need is a rim you can run a finger around without finding a nick, because a damaged rim is a lid that won't seal.
Heat the flat lids according to the manufacturer's instructions. Most now call for hot rather than boiling water, since a hard boil can soften the sealing compound. Bands just need to be clean.
Fill, Debubble, Headspace, Lid
Work one jar at a time and keep the rest hot. Ladle through a funnel, leaving the headspace your recipe specifies — measured with a ruler or headspace tool, not by eye:
- 1/4 inch for jams, jellies, and most pickles
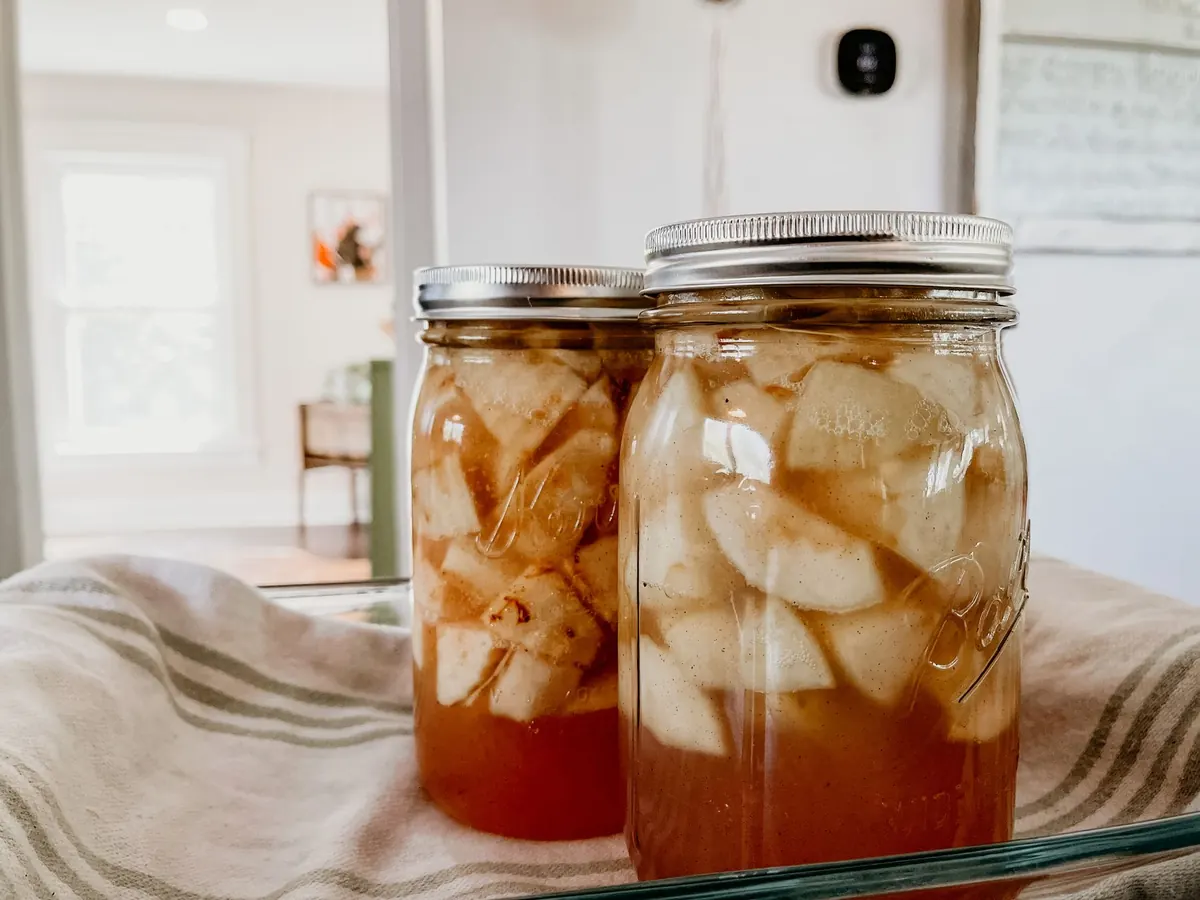
- 1/2 inch for fruits, tomatoes, and other high-acid foods
- 1 inch for low-acid foods going into a pressure canner
Run a plastic bubble remover or spatula down the inside to release trapped air, wipe the rim with a damp cloth, center a flat lid, and screw the band on fingertip-tight. Overtightening keeps air from escaping during processing, which can push liquid out and leave a buckled lid.
Into the Canner: Timing, Altitude, Patience
Load jars so they touch neither each other nor the pot walls. For a water bath, add hot water until the jars are covered by one to two inches, bring it to a rolling boil, then start the timer — not before. Keep that boil going; if it stops, bring it back and add time. For a pressure canner, follow the venting and gauge or weight instructions exactly, and stay in the kitchen.
Adjust processing time for your elevation using the chart for your canner type. When the time is up, turn off the heat, wait as long as the instructions say before removing the lid, and lift jars straight out onto a towel-lined counter with a couple of inches between them.
The Next Morning: Seals, Labels, and Doubts
Let jars sit undisturbed for 12 to 24 hours. Press the center of each flat lid: it should be slightly concave and stay put when pressed. Remove the bands, wipe the jars, and label them with contents and date. Store in a cool, dark, dry place and plan to eat them within a year for the best quality.
Throw out, without tasting, any jar with a domed or bulging lid, a dried seepage trail, mold, cloudy liquid where the recipe was clear, an off smell, a hiss of escaping gas when opened, or a lid that pops loose when pried. As an extra precaution, boil home-canned vegetables and meats for a full ten minutes before serving. If you feel unwell after eating home-canned food, seek medical care and mention the jar.
The Night-Before Walkthrough
Clear the sink, set out jars and lids, and decide where hot jars will land when they come out. Eat before you start — canning is a standing job with a boiling pot attached. Write your processing times in the notebook as you go, along with the date and what went into each jar.
For a first batch, pick something forgiving and small: strawberry jam, refrigerator-adjacent pickles, a half-dozen jars of tomatoes with bottled lemon juice. Learn the rhythm of fill, wipe, lid, lower, boil. The second batch is where confidence shows up.
Photo: ROMAN ODINTSOV / Pexels