October 02, 2026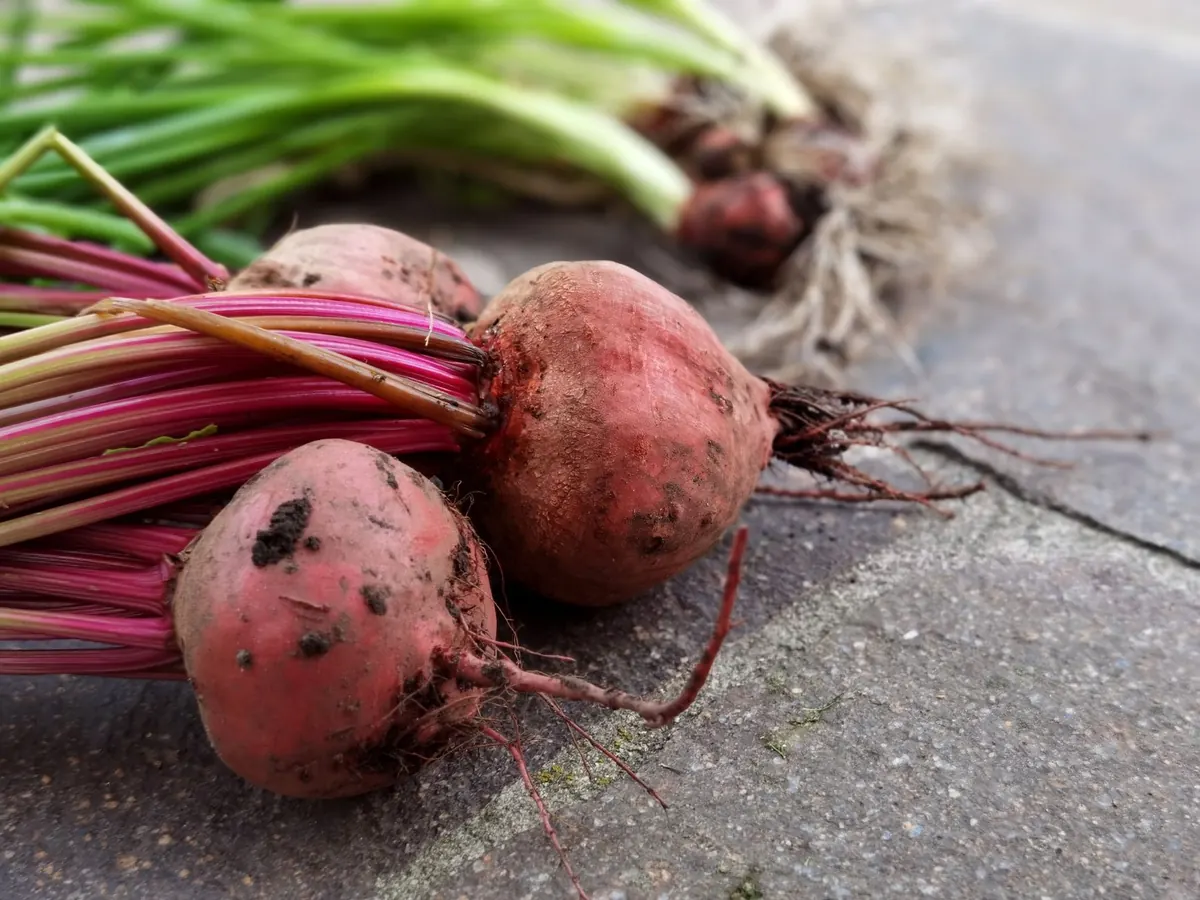
The first cool nights of September are a warning shot. Tomatoes are thinning on the vine, the winter squash is curing on the porch, and somewhere downstairs there is a room you have been meaning to deal with since spring. Cold storage does not happen just because you have a cellar. It happens because you set one up before the harvest lands on it: temperature, humidity, airflow, and a place to put everything. Work through this list over the next few weeks, and that room will hold your crops until March instead of turning them soft by Thanksgiving.
Temperature: Cold, Steady, and Yours to Control
Most root crops — carrots, beets, parsnips, turnips, rutabagas, winter radishes, celeriac — keep best between 32°F and 40°F. Apples like it the same. Steady matters as much as cold. A room that swings from 36°F at night to 55°F in the afternoon will sweat, and condensation on the shoulders of a beet is what starts rot.
Before you assume the room holds cold, measure it. Hang a min/max thermometer where the crops will sit, not near the door, and leave it a week. Reading 50°F to 60°F in early October is workable, but you need to know how you will pull it down.
The classic tool is a pair of vents: an intake low on one wall, an exhaust high on the opposite side. Cold night air falls in, warm air leaves. Open them after dark when the outside air is colder than the room, then close them by morning. A damper or a small thermostatically controlled exhaust fan turns that into something you do not have to babysit.
Two dangers. Sun on an exposed wall keeps a cellar warm long after sunset, so shade or insulate it. And when the forecast drops into single digits, throttle the vents. You want 34°F, not a frozen potato; once roots freeze, they go soft and then rot.
Humidity: The Half of the Job Most People Skip
Root crops want damp air, roughly 90 to 95 percent relative humidity. An unfinished basement in heating season often sits near 40 percent, which quietly shrivels carrots and wrinkles beets until they feel like leather.
Raise it deliberately. Damp sand, sawdust, or shredded newspaper packed around the roots holds moisture right where it matters. Wet burlap over crates, a shallow pan of water, or a misted gravel floor adds humidity to the room itself. Go slowly and check a cheap hygrometer; overshooting brings mold faster than dry air brings shriveling.
Then split your storage. Onions, garlic, winter squash, pumpkins, and sweet potatoes want cool-but-not-cold, drier air — think 50°F to 60°F and 50 to 70 percent humidity. Keep apples and pungent alliums away from potatoes; ethylene from apples pushes potatoes to sprout, and onions scent everything nearby.
Airflow Without a Draft
Damp, still air is where mold wins, but a draft that roasts one corner and chills another is just as bad. Aim for a lazy, even drift through the room.
- Leave two to three inches between crates and the wall.
- Set the bottom shelf at least four inches off the floor so air moves underneath.
- Use slatted or wire-spaced shelving, never solid boards tight against a wall.
- Stack bins no more than three high, and do not jam them shoulder to shoulder.
- Never wrap stored roots in plastic. It traps moisture against the surface and stops air exchange.
A corner reading ten points higher in humidity than the center is a corner that will grow fuzz by January.
Shelving, Crates, and a Place for Everything
Wood beats metal down here. Metal shelves rust, conduct cold into whatever touches them, and make a damp room feel worse. Simple pine or plywood with gaps between the slats will outlast you if you keep it dry.
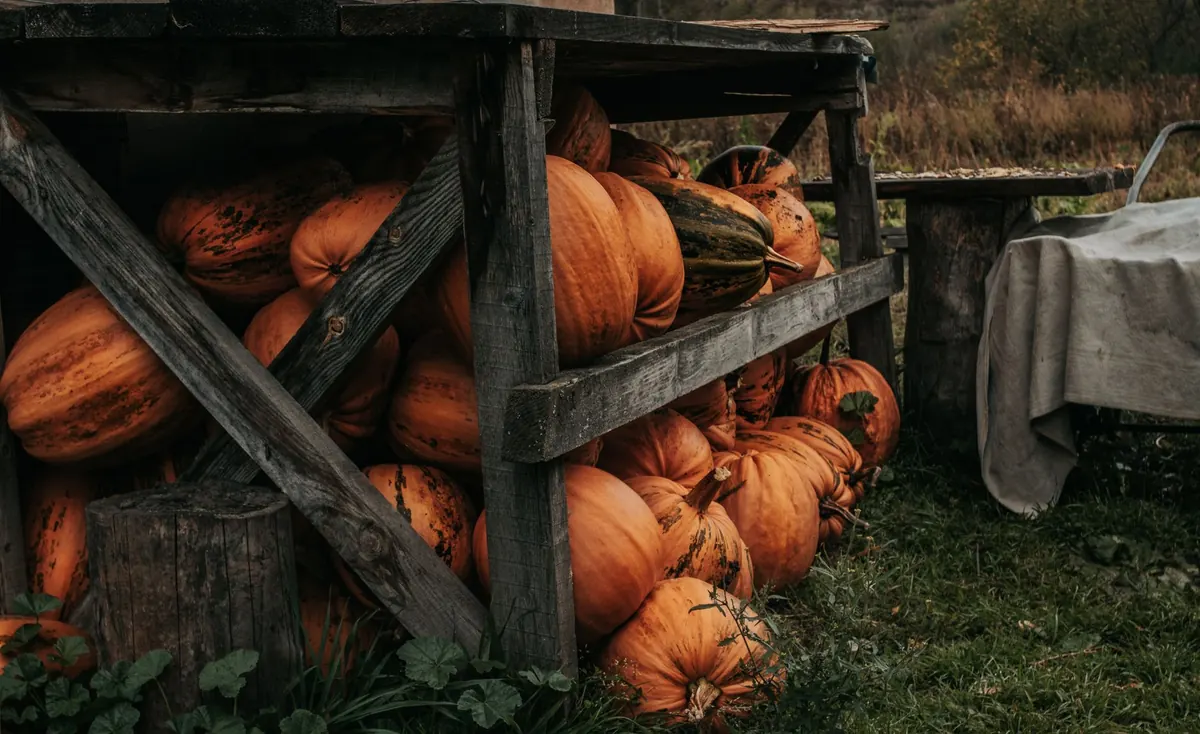
For loose roots, slatted wooden crates or stackable bins lined with damp sand or peat are the workhorse. Layer carrots, beets, turnips, and celeriac so they do not touch, leaving a couple of inches of medium between layers. Apples get their own crate. Squash and pumpkins sit on a shelf, not the floor, with air under each one and no fruit touching another.
Label everything with the crop and the date. In February, the difference between "carrots, October 4" and "carrots, October 28" is the difference between a good soup and the compost pile.
Seal the Room Before the Mice Find It
Do this while it is still warm and you are not hauling baskets up and down stairs.
- Walk the walls for cracks, crumbling mortar, and gaps around pipes or old vents. Fill small openings with steel wool and mortar; mice chew through spray foam.
- Cover vent openings with fine galvanized hardware cloth.
- Check the door and frame for daylight, then add weatherstripping or a sweep.
- Set traps along the walls before the harvest goes in, not after you find droppings.
- Store nothing that smells near crops — paint, fuel, solvents, animal feed. Roots take on odors.
The Fall Checklist
- Empty the room completely. Sweep, scrub, and let it dry.
- Inspect and repair walls, floor, ceiling, door, and vents.
- Install a min/max thermometer and a hygrometer at crop height.
- Run the vents for a week and record morning and evening readings.
- Set up shelves, crates, and damp sand or peat.
- Cure onions, garlic, squash, and sweet potatoes before they go in.
- Sort out every bruised, cut, or diseased item. Eat it now or compost it; it will not improve.
- Stock in small batches, checking for condensation after each load.
Do a Test Run Before the Harvest Lands
Put a few sacrificial crates in the room a week before you fill it: a box of second-grade apples, a bucket of carrots in sand, one squash on the shelf. Check them every few days and change one variable at a time — crack a vent, add a pan of water, move a crate off the wall.
By the time the last basket comes in, the room should be doing the work for you. That is the goal: a cool, dark, slightly damp space that holds a season of food and asks for almost nothing until spring. Get it right in September and you spend the winter cooking instead of triaging.
Photo: Vero Lova / Pexels