September 23, 2026
A pound of chilies, a spoonful of salt, and a dark corner of the kitchen are enough to start. Fermented hot sauce is one of the most forgiving projects in the larder: the ingredients are cheap, the equipment is a jar, and the payoff is a sauce with a depth that vinegar-blended versions rarely reach.
What follows is a first-batch framework rather than a fixed recipe. Once you understand the ratios and the signs to watch, you can swap chilies, add fruit, or push a ferment longer to taste.
Why ferment chilies at all
Blend fresh chilies with vinegar and you get heat that arrives sharp and green, with a raw edge that stays raw. Ferment the same chilies first and the sauce changes character. Lactic acid bacteria — already present on the skins and in the air — feed on the sugars in the peppers and produce lactic acid, along with aromatic compounds that read as savory, fruity, and faintly funky. Habaneros come out rounder and more tropical. Jalapeños taste almost pickled. Milder peppers like Anaheim or poblano gain a tang that makes them worth bottling on their own.
The practical bonus is control. Because acidity builds slowly over days instead of arriving all at once from a bottle of vinegar, you can taste the batch as it goes and stop it where you like. A four-day ferment is bright and still close to fresh. Three weeks gets you something darker and more complex.
What you actually need
- Fresh chilies — about 500 g (1 lb) is a good first batch
- Plain salt without anti-caking agents or iodine — kosher or fine sea salt
- Non-chlorinated water, if you're using a brine
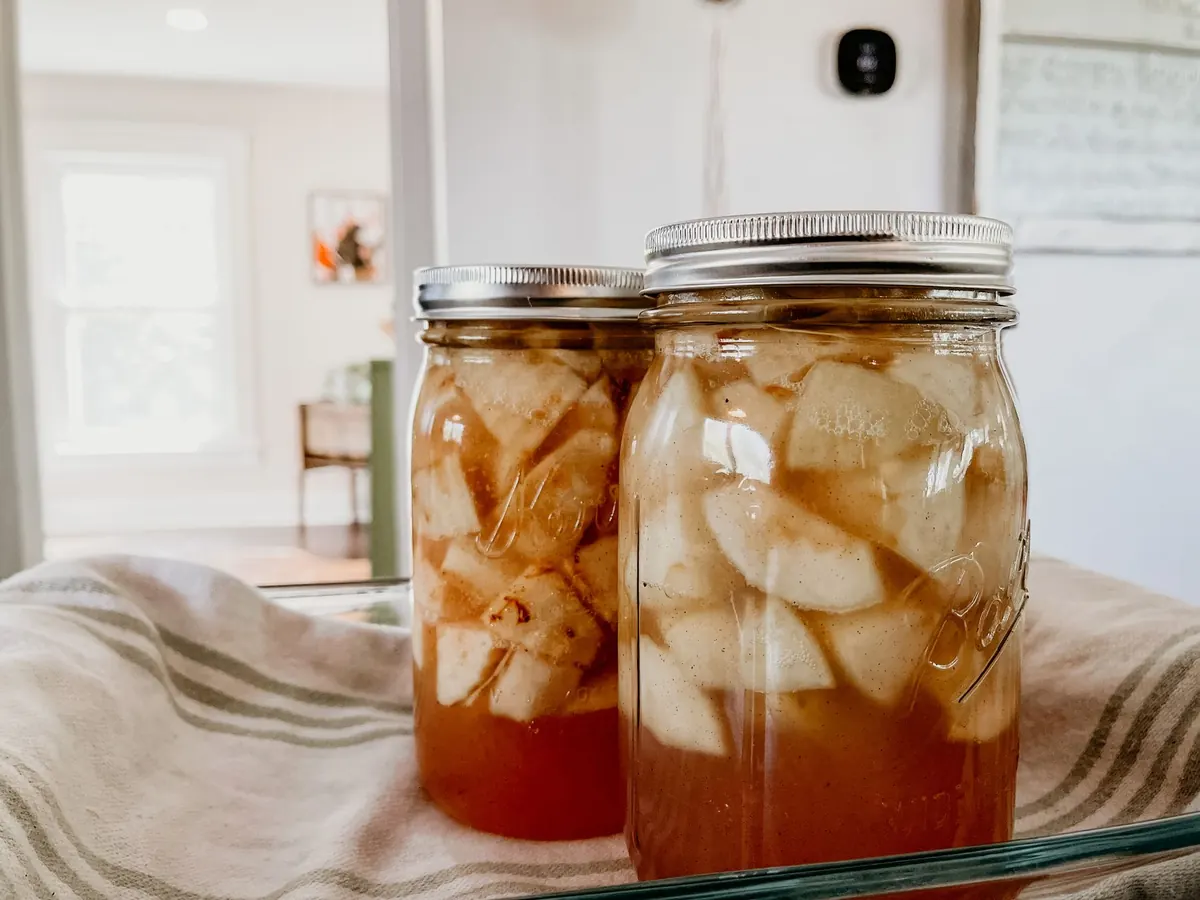
- A clean 1-litre glass jar, plus a smaller jar or zip bag to weigh things down
- An airlock, or a lid you remember to burp
- Gloves, a blender, vinegar for finishing, and clean bottles
- pH strips or a pH meter
Nothing here is specialist, and the only piece worth buying early is a pH meter. The cheap ones drift, so calibrate before you rely on one. Gloves matter more than people expect: capsaicin on your hands has a way of finding your eyes hours later.
Brine or mash: choose your method
There are two schools, and both work. Pick based on how much attention you want to pay.
The brine method
Whole or roughly chopped chilies go into a saltwater solution, typically 30 g of salt per litre of water — about 3 percent. The peppers slowly release their own juices and dilute the brine as they soften. Fermentation is slower and gentler, kahm yeast is less of a nuisance, and you finish with a jar of flavourful brine you can use to thin the sauce later. This is the method to start with.
The mash method
Chop or blend the chilies, then add salt at 2 to 3 percent of the total weight of the mash — no water at all. It ferments faster and tastes more concentrated, but there's far more surface area exposed to air, so you need to press the mash down daily or fit an airlock and keep everything below the liquid line. Messier, louder flavour, less forgiving.
Either way, additions like garlic, onion, carrot, or a little mango are welcome. Keep them under the brine with the peppers, and remember that fruit brings sugar, which speeds everything up.
Setting up the ferment
- Stem and roughly chop the chilies. Leave the seeds and pith in if you want more heat, scrape them out if you don't.
- Weigh your salt. For brine, 30 g per litre of water. For mash, 2 to 3 percent of the total weight of peppers and any extras.
- Pack everything into the jar, leaving about 5 cm of headspace for the bubbling that's coming.
- Weight the solids down so nothing pokes above the liquid. A zip bag filled with brine works well because it won't dilute the batch if it leaks.
- Fit an airlock, or screw the lid on loosely so gas can escape.
- Leave it in a dark spot at roughly 18 to 24°C (65 to 75°F). Cooler is slower and cleaner; warmer is faster and riskier.
- Taste from day four or five onward. Most batches are ready somewhere between one and three weeks.
When it's ready, and staying on the safe side of acidity
Active fermentation announces itself: bubbles within two to four days, a cloudy brine, a duller colour on the peppers, and a clean sour smell when you open the jar. As it finishes, the bubbling slows, the solids sink, and the liquid clears a little.
The acid the bacteria produce is what preserves the sauce, so acidity is the one thing worth measuring rather than guessing. Disease-causing bacteria don't grow below pH 4.6, and a healthy ferment usually lands well under that, somewhere in the 3.2 to 4.0 range. Test with strips or a meter before you bottle. If you plan to store the sauce at room temperature, give it away, or sell it, follow a tested recipe and check the rules with your local food safety authority — home fermenting advice isn't a substitute for that.
If something looks wrong
- A thin white film on top: almost always kahm yeast. Skim it off, reduce the headspace, and carry on. It's harmless but can taste flat.
- Fuzzy mould in green, black, or blue: discard the whole batch. Mould roots run deeper than the surface.
- Pink or red slime, or a rotten smell: discard. A good ferment smells sour and peppery, not like a bin.
- Soft, slimy peppers: usually just age. If the smell is clean, blend and taste before deciding.
Blending, bottling, and finishing
Strain the solids, saving the brine in a jug. Blend the peppers with enough brine to get them moving, then add vinegar — a quarter to half a cup for a 500 g batch, white distilled or apple cider — to sharpen the flavour and push the acidity down a little further. Add salt to taste, and a pinch of sugar if the sauce tastes harsh or thin. A very small amount of xanthan gum, well under an eighth of a teaspoon, blended in for a minute will stop the sauce separating on the shelf.
Blend longer than feels necessary for a smooth sauce, or pass it through a sieve for something thinner. Bottle in clean glass, refrigerate, and leave it alone for a week before judging it; the flavours knit together noticeably in that time. Refrigerated, a properly acidified sauce keeps for months. Shelf-stable bottling is a different project involving hot filling and verified pH, and it's worth doing some reading before you attempt it.
Start small, keep notes
Make three small batches with different chilies rather than one huge one, and write down the date, the weights, the salt percentage, the room temperature, and how many days each one ran. Two or three batches in, you'll have your own reference points instead of someone else's. Keep a spoonful of brine from a good batch and add it to the next one to give it a head start. The first jar is the one that teaches you the most, so keep it modest and keep it labelled.
Photo: Dominik Gryzbon / Pexels